Early morning rush to get a perfect hair blowout at the salon with crowds of people, I feel that is exhausting and more exhausting is the fact that we heart the salon hair work, god knows WHY!! Have you ever thought of doing getting one by yourself? I have observed people say that the hair dry that they do at home by themselves is not a cent of what the parlors offer your hair. Why is that so?
Getting a blowout at Home might look challenging. But if you know the nooks and corners, they might seem doable because hairdressers are also human beings but with good knowledge of how to treat hair. So the only thing that you need to do is learn the ‘how's’ to do, and for this, we are here to help. Hurry Josh, a famous hairdresser with some great work, shared his secret of getting hair done. His secret is to organize everything beforehand just like the chef’s miseen place.
What makes a Salon-Perfect Hair Blowout?
Some of the takeaways that you can collect from someone who recently got her hair done at the salon:
- Hair looks healthy and nourished from tip to root
- Your hair looks bouncy, i.e. Lifted in the root portion and bounces down effortlessly.
- Hair looks smooth and frizz-free
Blowout at Home
First, get your things organized:
You will need the following products, but note that they should be hair friendly.
- Shampoo and conditioner (alcohol and sulfate-free)
- Deep conditioning hair mask
- Thickening spray
- Conditioning spray
- Texturizing spray
- Round brush
- Hairdryer
- Smoothing cream (optional)
Step1: Wash your hair
The very first step to getting a salon-perfect blowout is to wash your hair with alcohol and sulfate-free shampoo and conditioner. Then apply your hair mask for at least 10 minutes. This will re nourish, smoothen and make your hair silky.
 Blowout at Home
Here are some of the deep conditioning hair masks you can select from.
Step 2: Groom your hair
 Blowout at Home
After washing your hair, you are required to make your hair look puffy from the roots. For this, you need to apply a hair volumizing or thickening spray. Now apply a leave-in conditioner to the end that will give your hair an extra nourishing appearance.
Step 3: Blow-dry upside down
 Blowout at Home
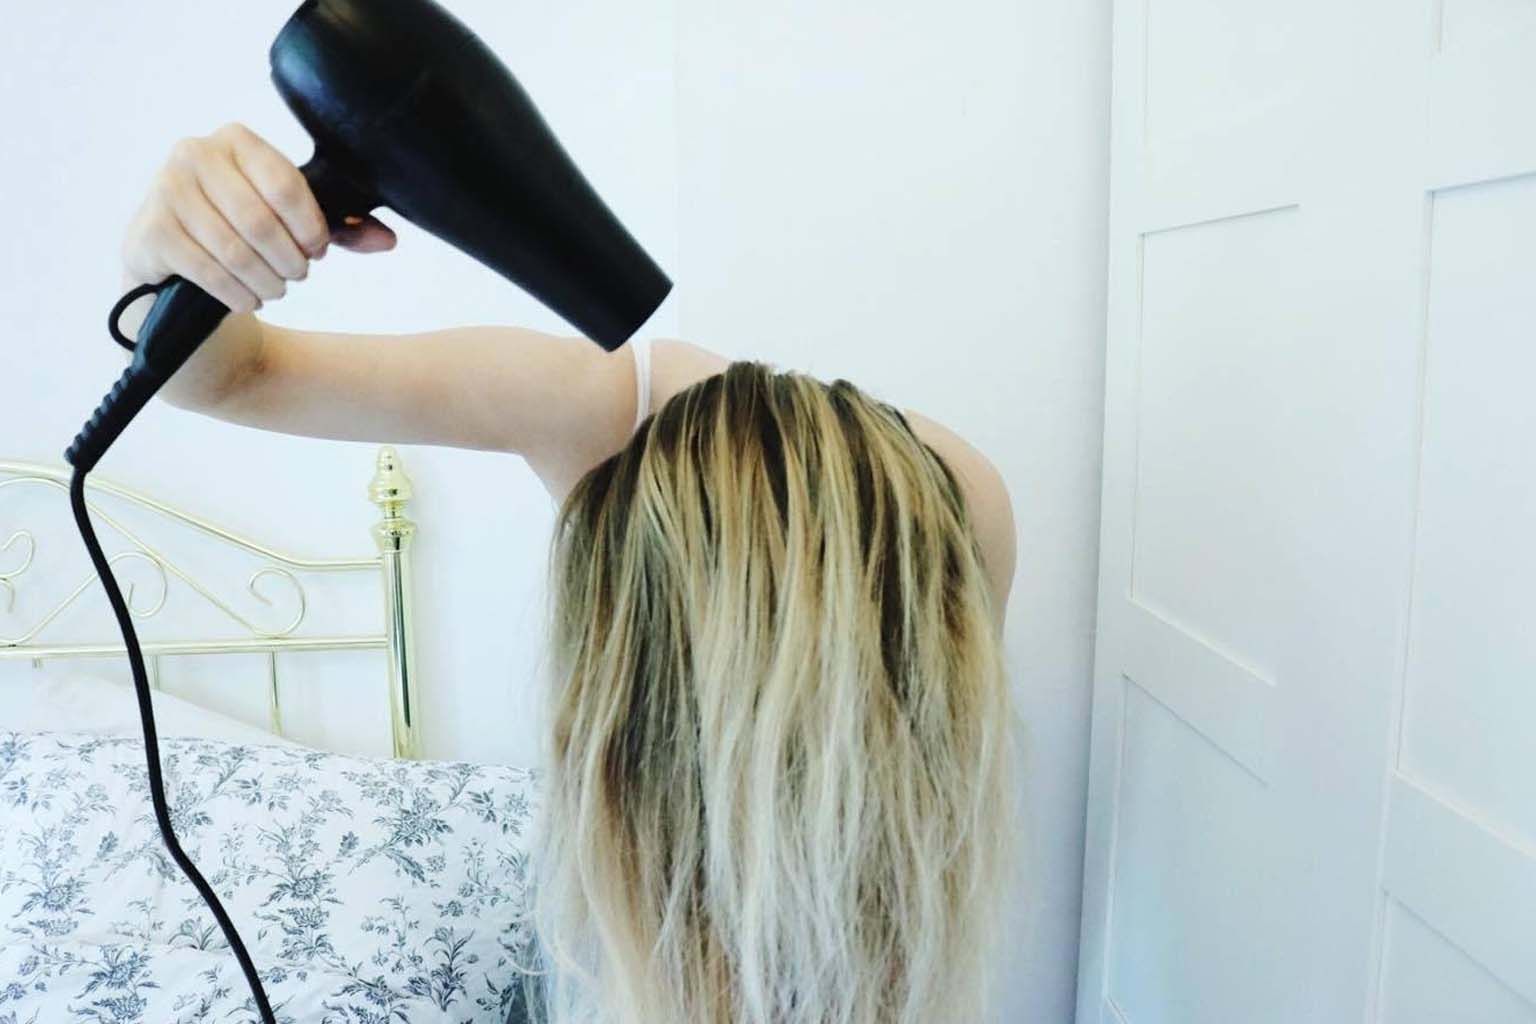
To style your hair you have to blow dry your hair till it is damp. If you have noticed, every hairstylist does so. Blowing hair upside down is a technique that helps in giving a volumized hair look, but if the volume is not what you need, then you can have a normal blow dry.
Step 4: The ‘pull and roll’ technique
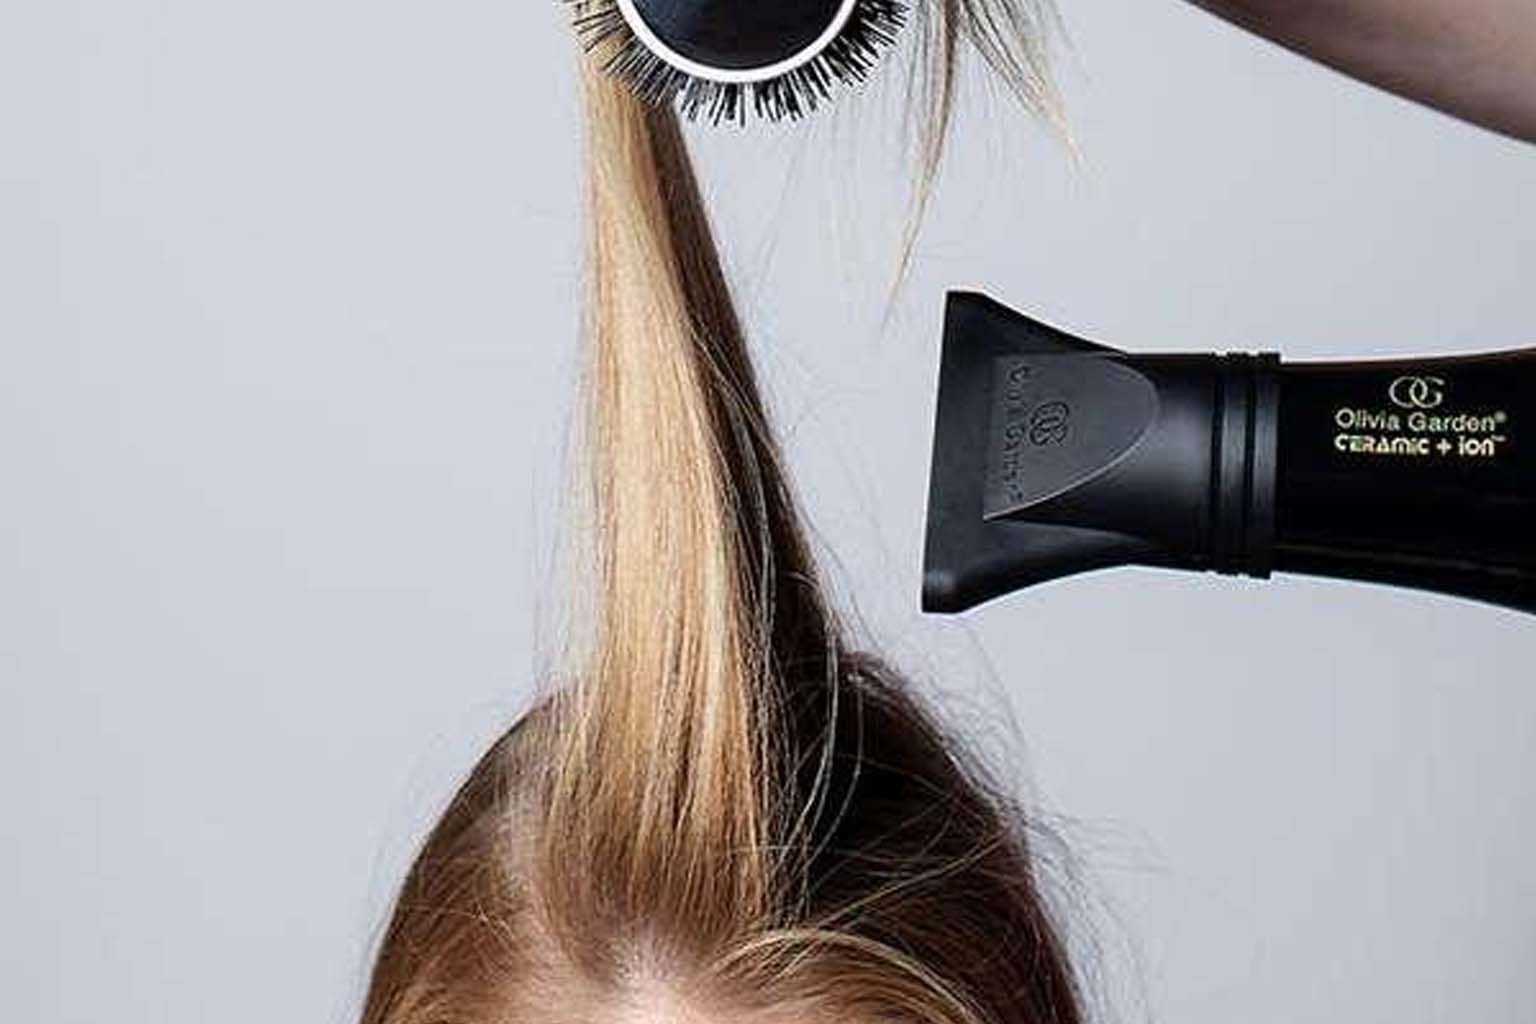
After getting your hair 70% dried, now is the time you should start styling your hair. Do the ‘pull and roll’ technique. Use a round brush that you are comfortable with and then work in sections. The smaller the sections, the better will be the result.
Also read: Why Should You Use Biotin For Hair Growth?
Start your hairbrush at the root and run it all over your hair till the tip. Roll the hairbrush back to the roots and continue this process with all your sections. If you have seen hairdressers doing so, try to do the same. While blow-drying, keep the nozzles of that dryer downwards so that your hair dries smoothly and frizz-free.
Step 5: Blow cold air to the roots
 Blow cold air to the roots
The secret to locking your style is to let it cool down. So blow dry with cold air to the roots so that it stays puffy for a longer period of time.
Step 6: Continue steps 4 and 5
Continue with steps 4 and 5 until all your sections are done. Work well with your front portion and pay attention that it does not stay fizzy.
Step 7: Flip your hair back and show off
 Flip your hair back
All done ladies. Flaunt your hair and see for yourself how it looks. You can get the ever wanted hair blowout at home by following these 6 steps. So no more rush to the parlor crossing the crowds, all can be done with just some patience at your home.
Also Read: Questions Answered About Blowout Hair Treatment

