Nail-care if a very important part of overall hygiene and self-care. Having clean and well-cut nails not only makes them look good but also ensures that you are not consuming food with dirt and grit hidden under them. Regular examination of your nails with proper maintenance ensures that you maintain a healthy lifestyle, as well.
Though a lot of people keep their nail-grooming sessions limited to getting them short and clean, others like to go the extra mile. For many, nail-care means decorating the surface of the nails with colors and glitter.
With nail art being so popular in today’s age, it is no wonder that more and more people are getting creative with their nail-care habits.
Today, we are going to talk about one such nail treatment method which has been widely used in recent times: the gel nails manicure.
What are Gel Nails?
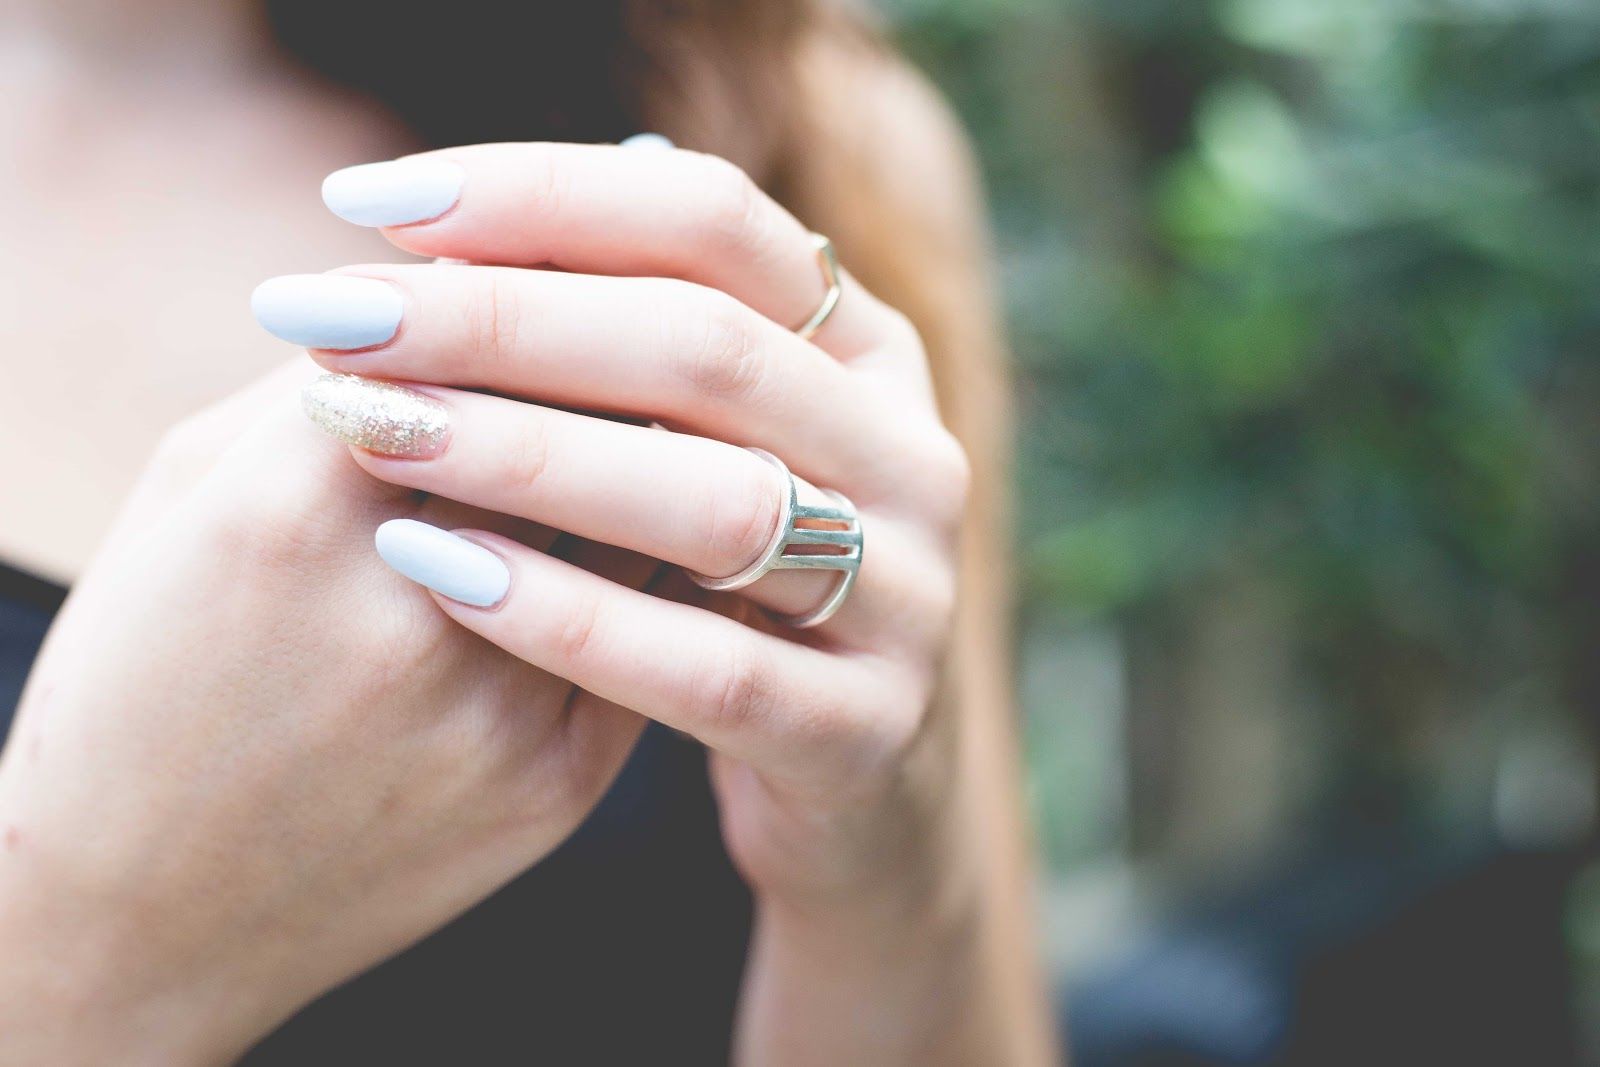
A gel manicure is similar to a regular manicure, the only difference being that it uses gel nail polish which is cured under a UV or LED light. This results in sturdy gel nails which last much longer than your regular nail polish. This is because the light locks the gel onto your nails, which means that it does not come off as easily as normal nail polish. Gel nails can even stay chip-free for weeks.
 Gel Nails
Though this treatment is best done safely sitting in a salon at the hands of a professional, we understand that there may be times when this isn’t possible. For those times, there are ways in which you can execute this treatment yourself, provided that you are being very careful. Today, we are going to tell you all about how to get gel nails at home.
How to get Gel Nails at Home?
Before we proceed, it is important to know that it is best to have your gel nails done by someone who is experienced, especially if it is your first time getting them. Only follow these steps in the conditions when you truly cannot go outside to get them done professionally. Remember that you will be using a UV or LED light which can be harmful to the skin if not used correctly. Safety always comes first before coolness and aesthetics.
That being said, if you are confident in your manicure skills and feel ready to try to get gel nails at home, here is how you can do it:
1. Gather The Materials
The first step in learning how to get gel nails at home is to prepare the proper supplies beforehand. For a gel nail manicure, you will need usual manicure supplies such as nail clippers, buffer, file, cuticle tools, cuticle oil, etc. This is because a gel manicure starts the same way as a normal manicure, which means that you still need to go through all the steps to get your nails ready for the polish.
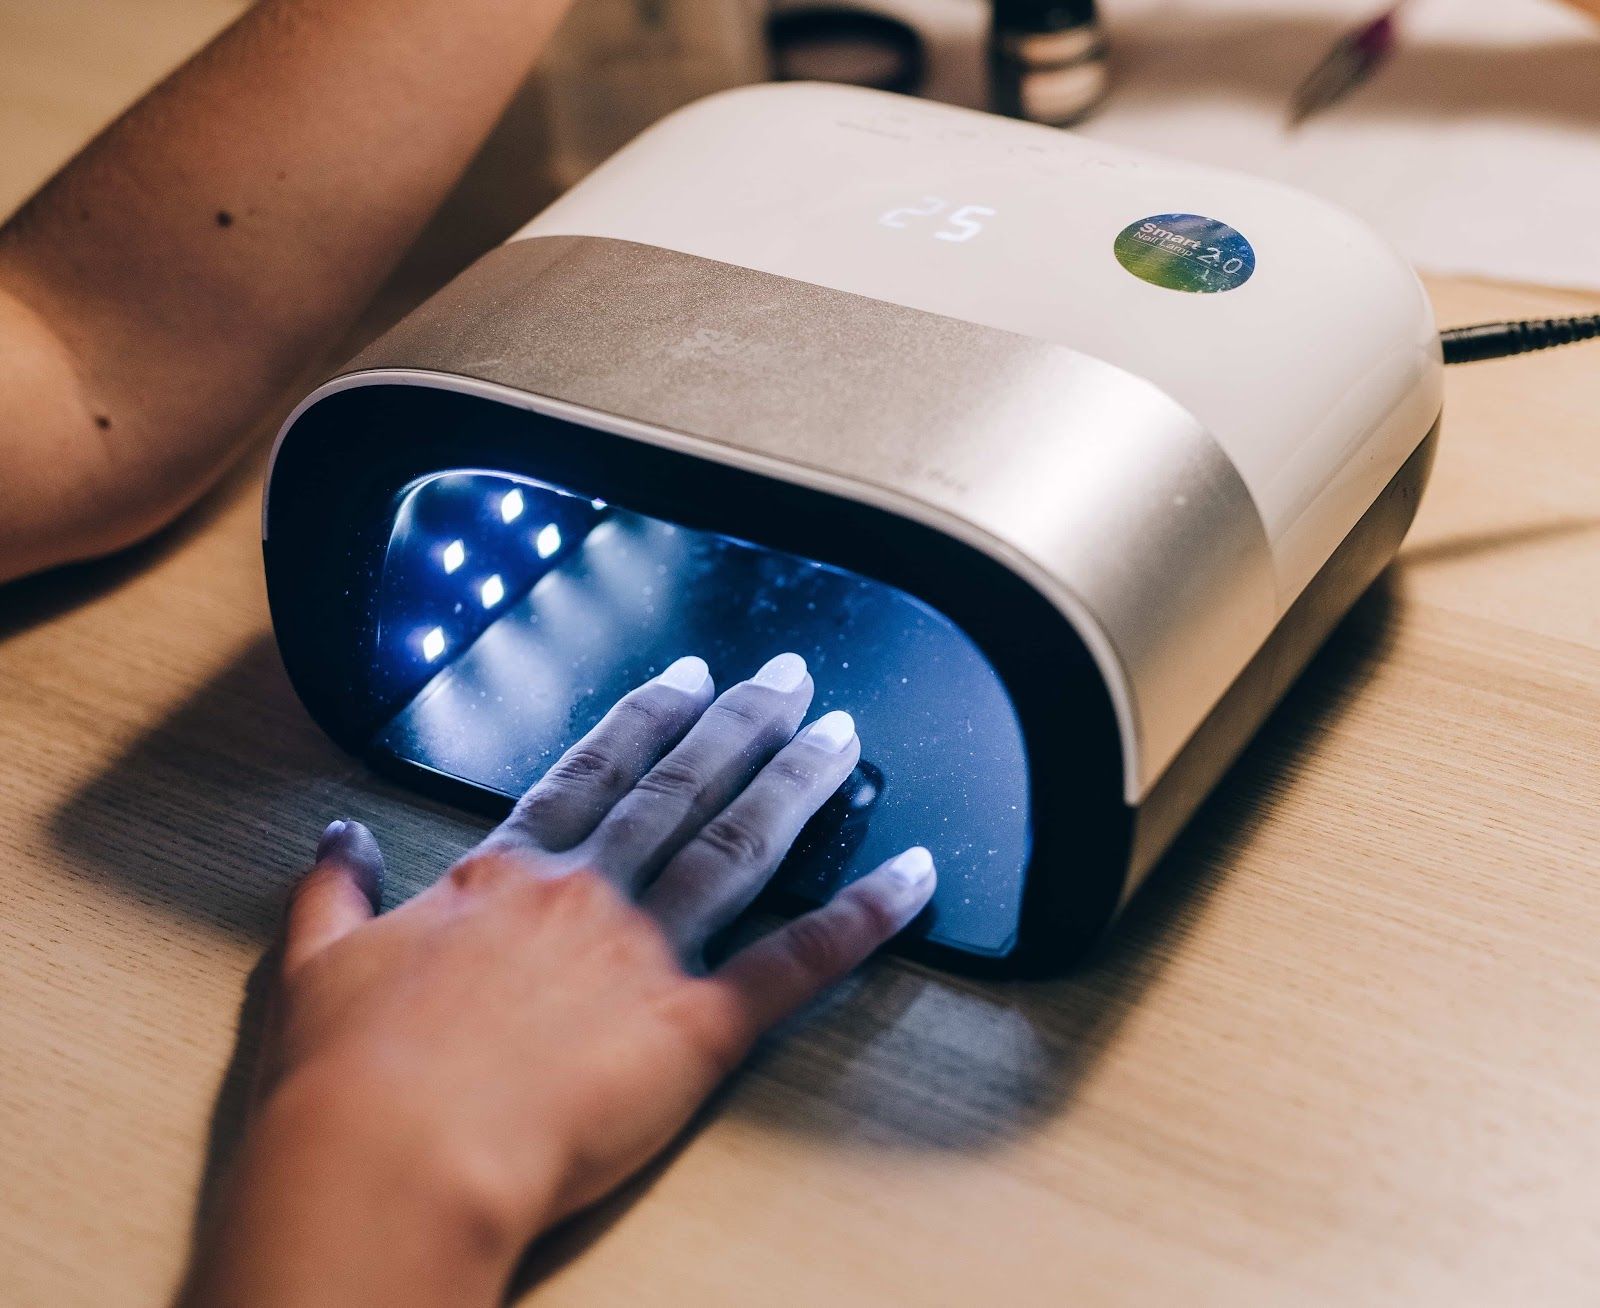
The second thing which you will need is a gel curing lamp, under which the gel will lock onto your nails. A gel curing lamp can be of two types: UV and LED. LED lamps are thought to be better because they cure the gel much faster and also have a much longer bulb life.
Though it is also thought that LED lamps are safer than UV lamps, they still emit UVA rays, which are harmful to the skin on exposure. Thus, there is a risk involved in both, so make your choice accordingly, after doing proper research.
The last thing which you will need is the gel polish, gel topcoat, and gel base coat. Make sure to read about the polish before you buy to make sure that you are buying a safe one. Decide on the colors which are your chosen form of current self-expression.
It is important to note that different gel polishes usually come with their own recommended lamps and curing times, so these should be noted carefully. Another thing is that while UV lamps can cure both LED and UV gels, an LED lamp will only be able to a LED gel. Thus, make sure that you research this thoroughly to pick a lamp that is recommended for your gel nail polish of choice.
Other than all this, make sure to get some cotton swabs and alcohol to clear up any mess which may occur during the gel manicure.
2. Get your Nails Prepped and Ready
It is always important to clear the basics before moving to the advanced. Thus, you first need to prepare your nails to ensure that your gel manicure works effectively and your gel nails turn out the way you want.
 Gel Nails
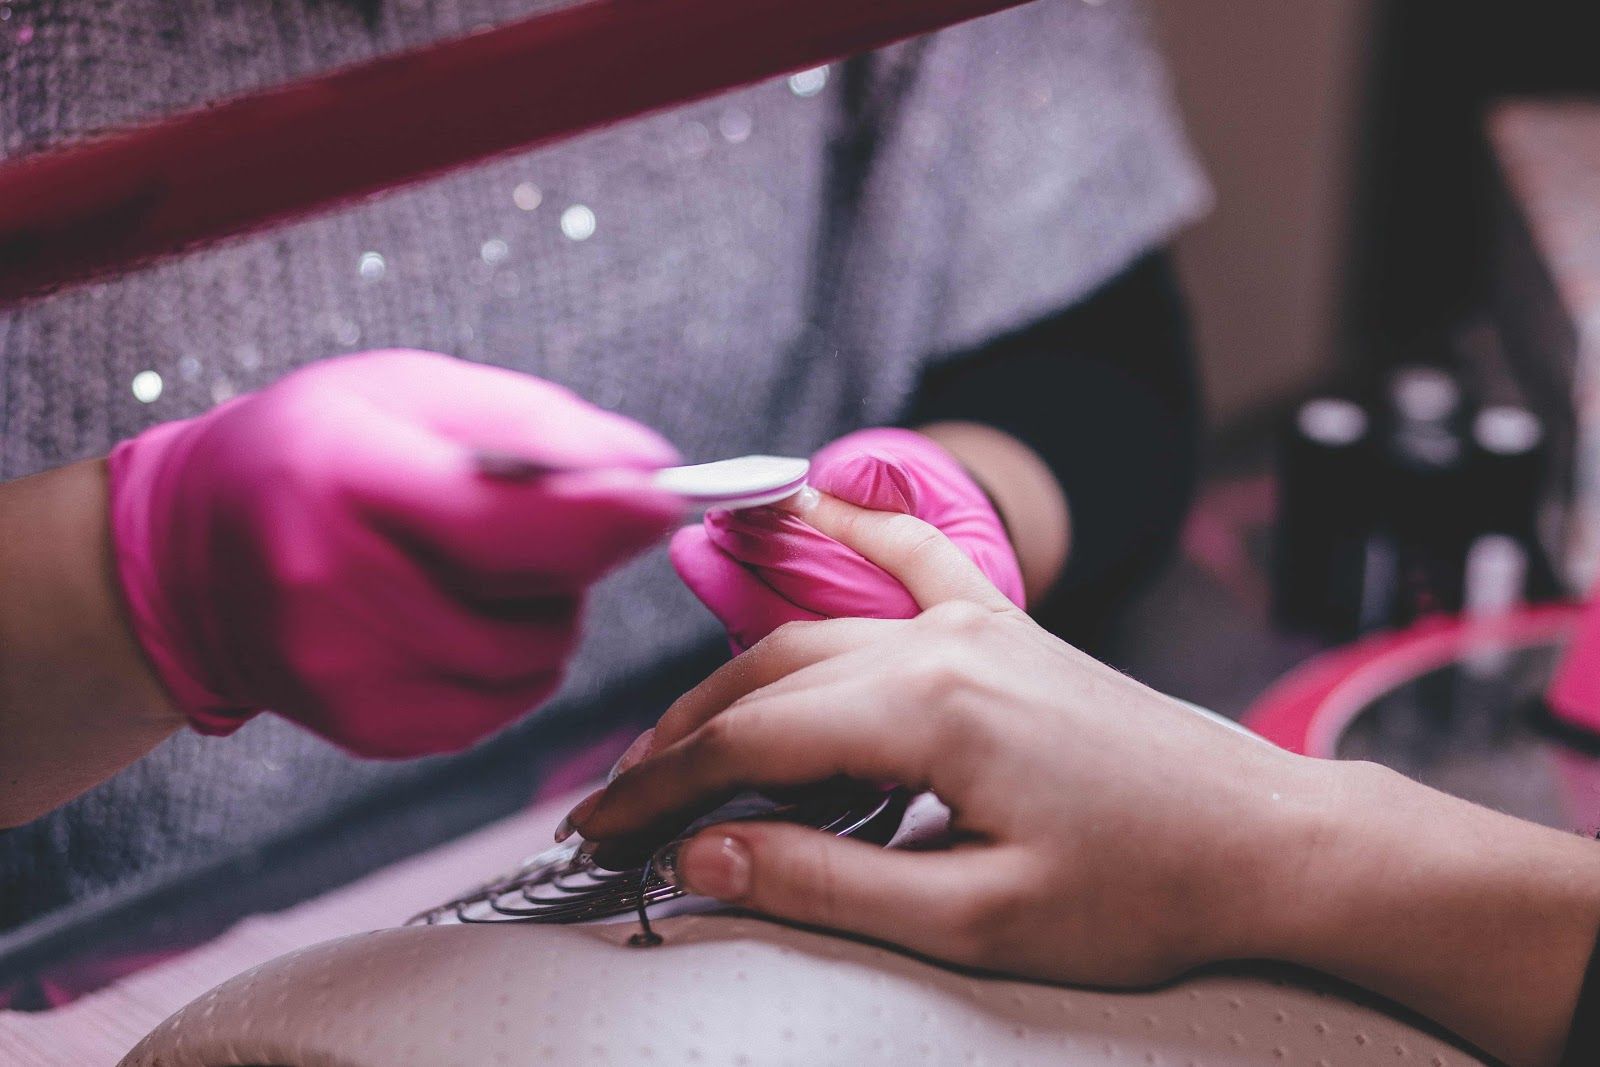
For this, if you feel the need to trim your cuticles, do it carefully using the cuticle supplies. Remember to not cut your cuticles, because that only causes harm. Only gently push them back using a cuticle pusher and only trim the excess skin and hangnails, leaving the rest intact. Caring for your cuticles is an extremely important part of nail care and one must not be careless with it.
Cut your nails, filing the rough edges to put them in a smooth, even shape. Then, buff the entire nail thoroughly from edge to edge, carefully. This is to get rid of all the natural oils.
Gel nails will not stick properly if there is any oil present in your nails, so always make sure to check that. This is why you should probably only use the cuticle oil after your gel nails have been done.
After this, clean the nail using cotton swabs and rubbing alcohol or acetone to clear any remaining oil, dirt or debris hidden underneath.
3. Get to the Polish and Curing
Finally, we are in the main part of learning how to get gel nails at home. Now that you have your nails ready, all you need to do is grab the polish and check that the lamp is set up.
 Polish and Curing
First, apply a thin layer of the gel base coat and cure it under the lamp. The time that is taken for the gel to cure depends on the type of lamp. UV lamps could take around 2-3 minutes, while LED lamps usually take around 30 to 60 seconds. However, it is important to have all the information about your specific polish and lamp so that you know the proper time you should take.
Then, apply the gel nail polish color: apply each coat in a thin layer and make sure to cure each coat under the lamp before applying the next one. The number of coats you apply will depend on how opaque you want your gel nails to be.
You should avoid using thicker layers because then it will flood the cuticles, which will make the gel lift off later. Check your nails between each coat to ensure that the gel has dried properly on all your fingers.
After you are done, apply the gel top coat and cure under the lamp one last time to seal the gel polish in.
With every coat, always make sure to clean any gel residue that is on your skin using cotton swabs and rubbing alcohol, before you place your hands under the light. There should be no gel on your skin during the process of curing.
4. Use Cuticle Oil
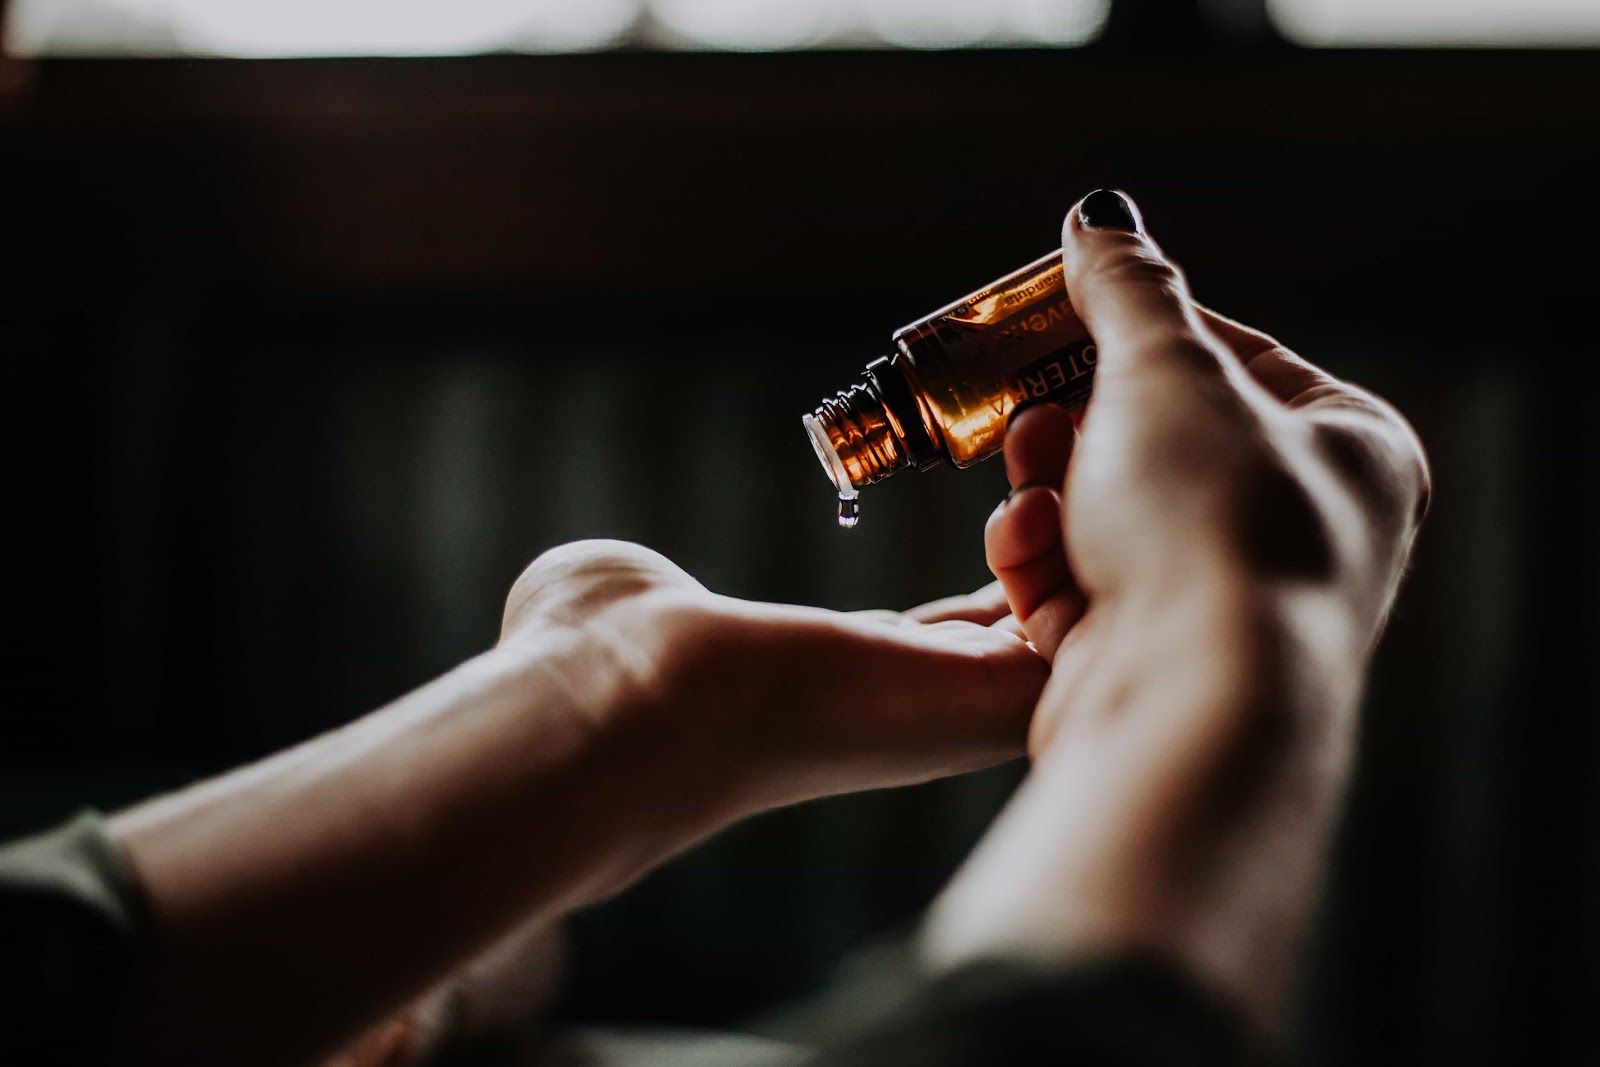
Finish off by rewarding your nails with the relaxing, hydrating effect of cuticle oil. Cuticle oil plays an important role in the maintenance of gel nails. Using cuticle oil regularly helps combat any dryness or brittleness which may be caused due to the gel polish.
 Cuticle Oil
Finally, you are done and you have your pretty nails right in front of you! Pat yourself on the back for having worked so hard through this entire process and remind yourself that you did well,
Safety Guidelines
Whether you are doing your gel nails at home or the salon, you need to be aware of all the risks involved. The safety of gel manicures is something that has been much debated, especially because they require the use of LED or UV lamps, which both contain UVA rays. Exposure to these rays can be harmful, especially if it happens consistently over time.
Though research has not yet established gel nails as a risk for conditions such as skin cancer, we can’t deny the danger involved. Thus, as much as you may love the way those gel nails look, getting them all-too-often can prove risky.
You can also take necessary precautions by wearing special gloves that cover the rest of your hands, leaving only your nails exposed to the light. That way, at least you will cut down on the exposure on the rest of your skin
Certain medications can also increase sensitivity to UV light, so always be sure to check beforehand and take extra measures to protect your skin if necessary.
Other than that, gel manicures can also make your nails brittle and dry. Proper nail-care is needed to keep the nails hydrated and healthy in the weeks following your manicure.
Maintaining Nail Health
Ultimately, taking care of your nails means consistent efforts towards cleaning and nourishing them. So, while it is tempting to try all the latest trends, you should always make sure that your nails will not be damaged in any way. Understanding the needs of your nails is the first step to preserving nail-health.
 Nail Health
Whether to get gel nails or not is your choice. If you want to give it short and are ready to take all the safety measures, go for it! What matters the most is that you are taking care of yourself throughout the process, because a healthy you is always the prettiest you!
Also read- Applying Nail Wraps

