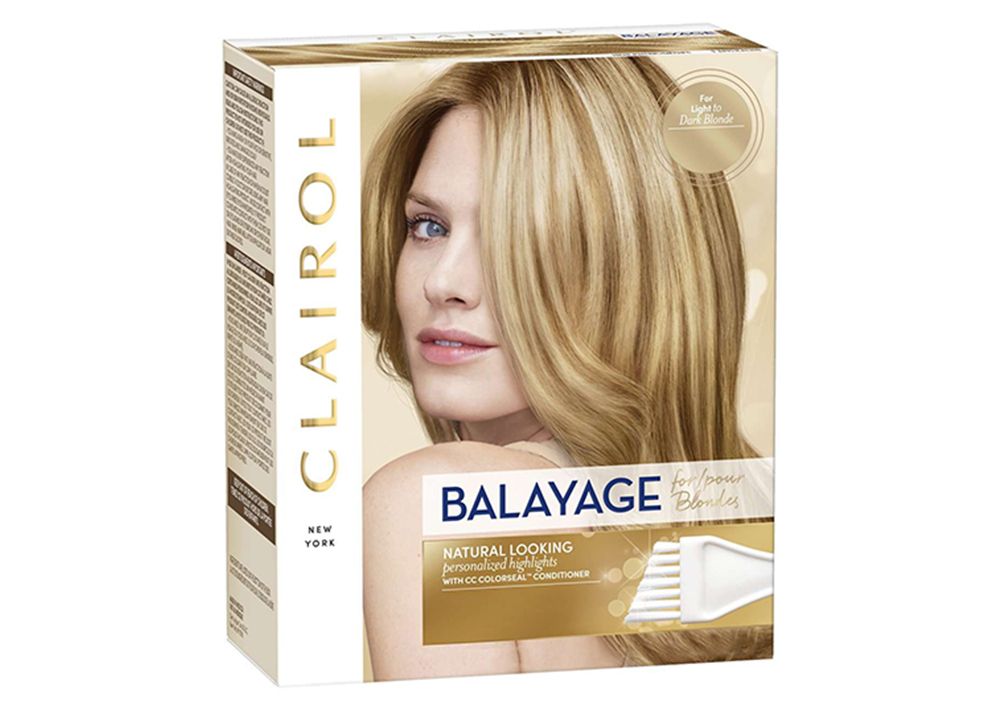
If you want to give your hair a new look or want to try something new, then highlight your hair! It’s a great way to try out something new for your hair. Highlight your hair at home if you do not want to spend extra money on expensive hair salons.
Trying out highlights at home makes you learn a new thing and you can even try it out multiple times. Add highlight to your hair and flaunt your new hair around your friends. Going to a spa during the Coronavirus outbreak can be a risky task.
Highlights at home can be a safer and economical way of getting the work done. Browse a perfect highlighting kit for yourself and get ready to highlight your hair in easy steps.
Steps to Highlight Your Hair
Read on to find out how to highlight hair at home.
1. Take an advice
Highlighting your hair can be a major decision you might or you might not want to take. The thoughts of how you are going to look after highlighting your hair or is your hair even eligible for highlighting? might be running all over your mind.
So, the first thing we suggest you do is to take advice. Not from your friend or boyfriend or any family member but a professional expert who is proficient in this work. They may suggest what precautions, color options and tips you should consider according to your hair type. Never do it without having proper advice.
2. Choose a highlight kit
This is an important step if you are planning to add highlights at home. There are several kits available in the market for highlighting your hair. You should ask the expert about what product might suit you well and what precautions should you take before, during and after applying the product. Highlighting in salons is usually done with bleaches.
Bleaching sometimes can cause serious damage to your hair and it is not a single hand job. So, it’s better if you want highlights which include bleaching and toning done in the salon with the help of experts.
 Highlight Your Hair
So, for short term highlights, you should purchase a good product and with DIY kits. It’s a better and safer option. The highlighting kit which you will purchase includes everything from gloves to application bottles. Choose a highlight kit which suits you the best according to your color preference and hair type.
3. Follow the instructions
Your highlight kit may also include an instruction slip which consists of all the information on how to do the highlighting yourself. Following the instructions given on the slip is the most important thing because if the instructions are not followed properly might create chaos and will not give you the look you wanted. So, it’s better you follow each and every instruction with care. Also, read precautions if mentioned. It’s better to stay safe and not get this thing to a doctor.
4. Do a strand test
Just like we do with most of the medical ointments and skincare products, you should perform a strand test before you start with a huge amount of hair. The chemicals in the color may or may not suit you, so, it’s better to stay safe and test the product on a strand of hair. Just take a small amount of hair and put the mixture created by following proper instructions and see how it turns out. If the hair is good to go, you can start the next step.
5. Choose your preferred method
There are several ways in which you can highlight your hair. Some methods like foils and balayage are commonly used by your local hairstylist which you may not be able to do at home. However, stylists suggest if you want to highlight hair at home, use foils. The time you can leave the color on your hair should be suggested by your hairstylist. Check the foils after every 5-10 minutes (but, no touching at all) and yep! You’re good to go for the next step.
6. Paint them, baby
The next and most important step, highlighting it. After you are done gathering the essentials like brushes, mixtures foils etc. You are ready to paint them. If you have some assistance it’s better. Section your hair the way you want to place your highlights and carefully apply the mixture onto the sections and foil them up.
Make sure you are careful with it. Do not use too much pressure while you are applying the cream on your hair. Hold the hair straight and paint at least two inches away from the roots.
7. Rinsing and conditioning
Once you are done with applying and leaving it on, the next step is to rinse the hair. Rinse each section well. Apply shampoo and let the hair wash well. After washing it thoroughly with a shampoo, condition your hair.
 Highlight Your Hair
Conditioning is important as your cuticles are opened by the ammonia in your hair color, so you should close them with a moisturizing conditioner to add back the necessary moisture. This will give you more shine and smoothness.
8. Do not overdo
If you do not get the desired results even after following all the instructions. Do not try again. Trying again and overdoing it may cause some serious damage to the hair. So, avoid overdoing the highlight on your hair. You should wait at least two weeks until you try highlighting again. Choose a sulfate-free and color safe formula for safe and flawless highlights. Making a mess is fine but do not overdo it, please!
Final word
If you plan to do highlights at home, make sure you are prepared and are aware of all the know-how before you start doing the highlights. Make sure you are not damaging your hair. Although, highlighting creams can cause damage as they comprise of several chemicals which may not be a good option.
If you are not very familiar with the highlighting process, you should leave it to an expert hair professional. However, trying out new things yourself is not always a bad option. It gives you a chance to learn new things and give yourself some pampering time which is a great thing. Right?
Also Read; 8 Purple Highlights Ideas For Dark Hair

